Instructions
Chocolate Crust:
Preheat the oven to 356 °F (180 °C) and lightly grease a 9.5-inch (24-cm) tart pan with a removable bottom (or a springform pan).
If using whole nuts and rolled oats, grind both into flour using a blender or food processor. Add cocoa powder, salt, dates, maple syrup, and melted coconut oil, and blend again until the mixture sticks together. (If it looks too dry, add a little water).
Press the mixture into the prepared pan, forming an even tart shell. Bake in the preheated oven for 15-20 minutes. (If bubbles appear, press them down with a spoon afterward). For a no-bake option, simply place the pan in the refrigerator. However, the bottom will not be crispy, but rather softer, like Bliss Balls.
Allow to cool completely before adding the filling.
Raspberry Filling:
Heat the raspberries in a saucepan and cook briefly until they can be easily mashed. Strain them through a fine-meshed sieve, collecting the juice (yields about 200 ml).
Pour about 3 tbsp of water into a small container and dissolve the cornstarch with the agar powder in it.
Add the raspberry juice and all other ingredients for the filling into a pot. Pour in the cornstarch-agar mixture and bring to a boil, stirring constantly. Reduce the heat and cook for another 1-2 minutes, stirring, until nicely thickened.
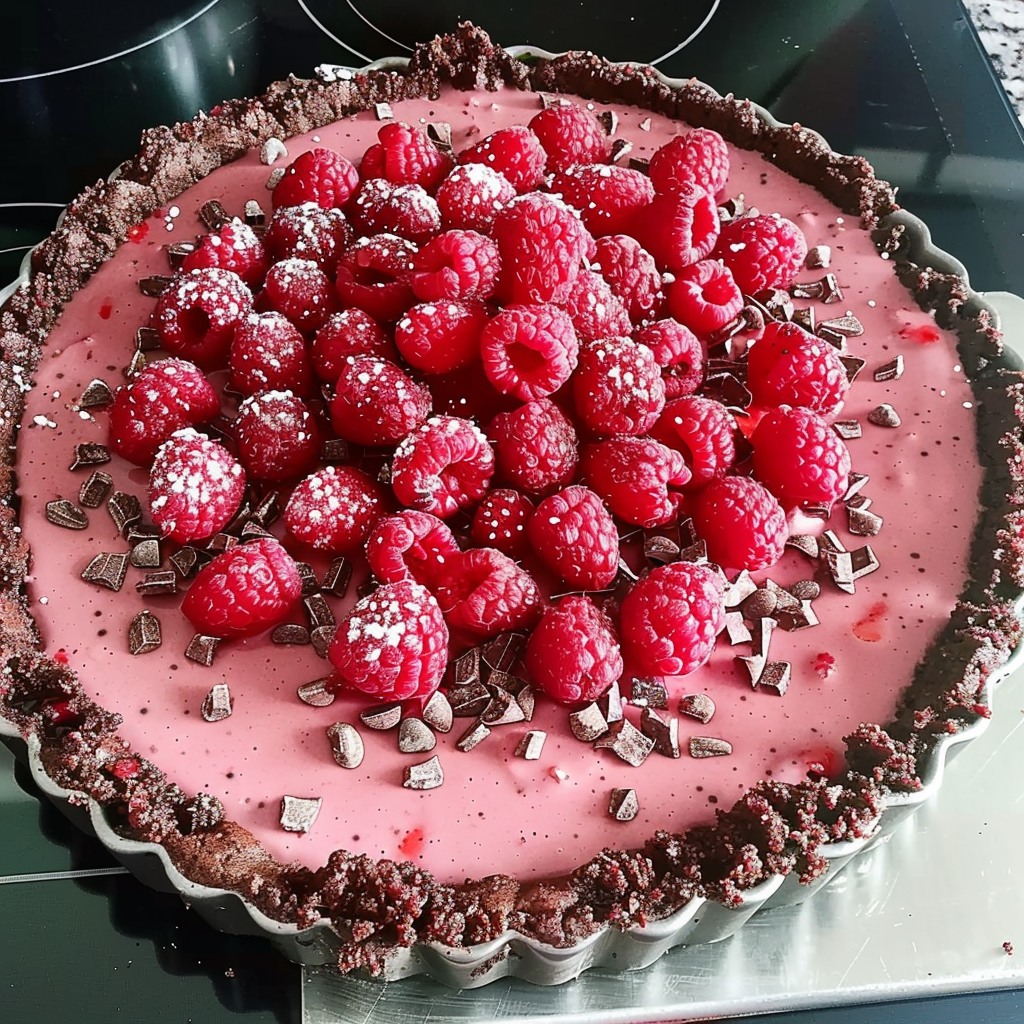
Pour the mixture into the tart shell and allow it to cool to room temperature for about 1 hour. Then place in the refrigerator and chill for at least 2 more hours (or preferably overnight) until the filling is completely set.
Garnish:
Garnish with fresh raspberries, red currants, pomegranate seeds, and sprinkles if desired. I also made some pretty chocolate designs using a 3D chocolate printer.
Slice and enjoy!
Nutrition Information (Per Serving, approx. 1 slice)
Calories: 250
Protein: 5g
Fat: 15g
Saturated Fat: 10g
Carbohydrates: 30g
Fiber: 5g
Sugar: 15g
Sodium: 50mg
Vitamin C: 10% of the Daily Value (DV)
Calcium: 4% of the DV
Iron: 10% of the DV.
Tips:
Texture Adjustment: If you prefer a crunchier crust, bake it longer until it reaches your desired texture.
Sweetness Level: Adjust the amount of sugar in the filling to your taste preference.
Decorative Touches: Use a 3D chocolate printer for intricate chocolate designs to enhance the tart’s presentation.
I hope you enjoy making and savoring this vegan raspberry chocolate tart as much as I did. It’s a treat that’s sure to impress your friends and family!

