Ingredients
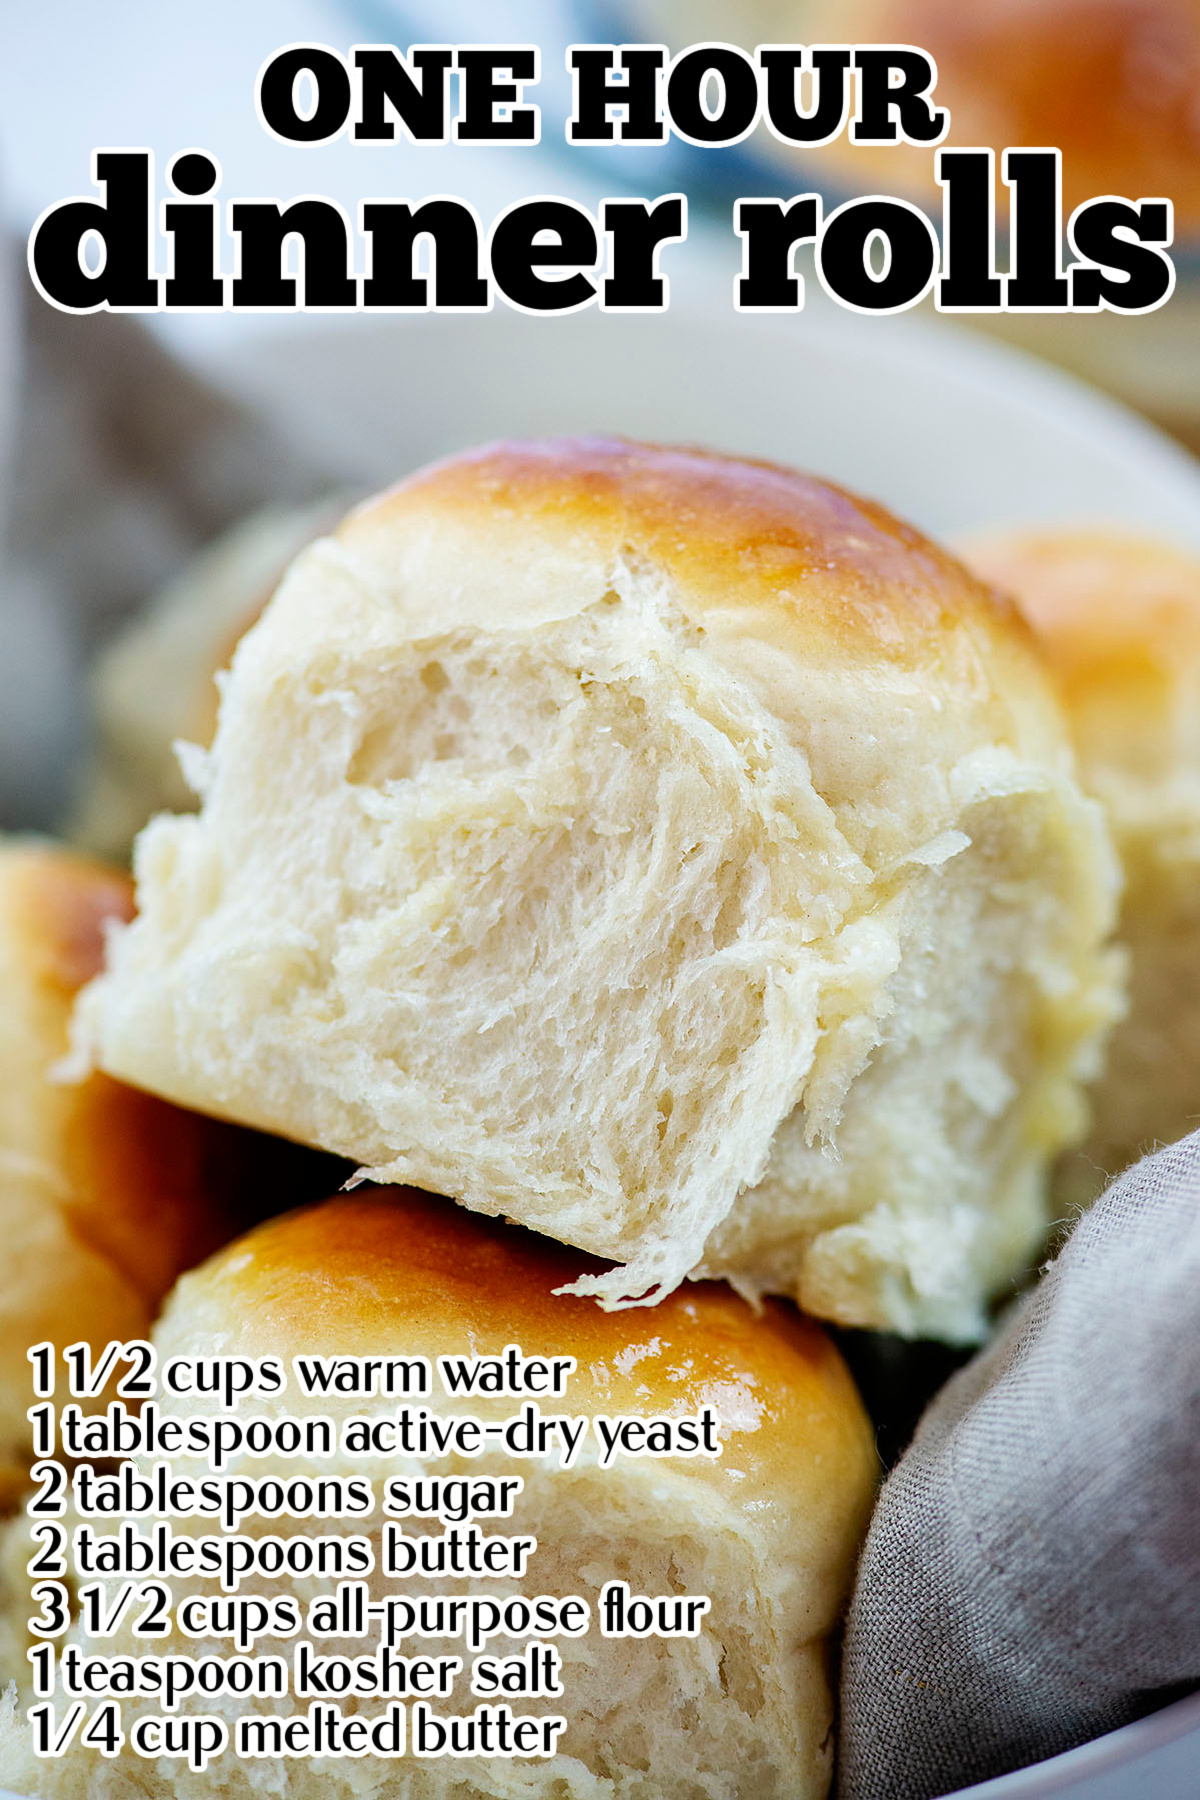
▢1 ½ cups warm water around 115 degrees
▢1 tablespoon active-dry yeast
▢2 tablespoons sugar
▢2 tablespoons butter softened
▢3 1/2 cups all-purpose flour more as needed
▢1 teaspoon kosher salt
▢¼ cup melted butter.
Instructions
Add the warm water and yeast to the bowl of a stand mixer fitted with the dough hook. Sprinkle the sugar over the top. Let sit for 5 minutes or until yeast is foamy.
Add the butter, flour, and salt to yeast mixture and knead on low speed to combine. Increase speed to medium and continue kneading for 5 minutes. You may need to add additional flour, see notes.
Once dough is soft and pliable, but leaving only a small amount of residue on your fingers when pinched, remove from the mixer and shape into a ball. Place in a large, greased bowl.
Cover the bowl with a tea towel and set aside to rise for 15 minutes.
Once dough has risen, set oven to 400 degrees to preheat and butter or grease a 9×13 baking dish.
Punch down the dough and divide into 15 equal sized pieces, weighing about 2 ounces each.
Roll each piece of dough into a tight ball. For shaping dinner rolls, see video above. Arrange rolls in prepared baking dish.
Cover with a tea towel and let rise for 15 minutes.
Gently brush the melted butter over the tops of the rolls.
Bake for 12-15 minutes or until tops are golden and rolls are cooked through. Place under the broiler to brown the tops further, if desired.
Remove from the oven and brush with additional butter. Let cool 5 minutes before removing from the pan.
Tips & Notes:
Water temp: If the water is too hot, the yeast will die. If the water is too cold, the yeast won’t activate. We use a thermometer to test our water temperature for the best results.
Yeast: This recipe also works well with instant yeast with no changes needed.
Flour: You’ll likely need more than 3 ½ cups of flour. We usually end up closer to 4 cups, depending on the humidity. Start by adding the 3 ½ cups of flour as called for and mixing. If the dough is holding it’s shape and clearing the sides of the bowl without leaving a lot of residue on your fingers when pinched, it’s ready to go. If the dough does not form a ball or clear the edges of the bowl while mixing, add additional flour ¼ cup at a time until it does. The key to these rolls is to use the least amount of flour you can (so soft and fluffy!), but the dough does need to be workable and shouldn’t leave much residue on your fingers when pinched. Often times when you start mixing the dough it will hold it shape, but after a minute it will sort of flop down off the dough hook – add more flour each time that happens until it forms a nice ball of dough.
Size: We use a kitchen scale to measure out the dough into 1.8-2.2 ounce balls, so that everything cooks evenly.
Shaping: To shape dinner rolls, we find it easiest to form a ball of dough and place it directly on your countertop (do not flour the countertop). Form a ‘C’ with your hand and place it around the dough ball. Roll your hand back and forth on the counter, moving the ball of dough inside the ‘C’ shape. This will form a nice, tight ball of dough. See video in post for an example.
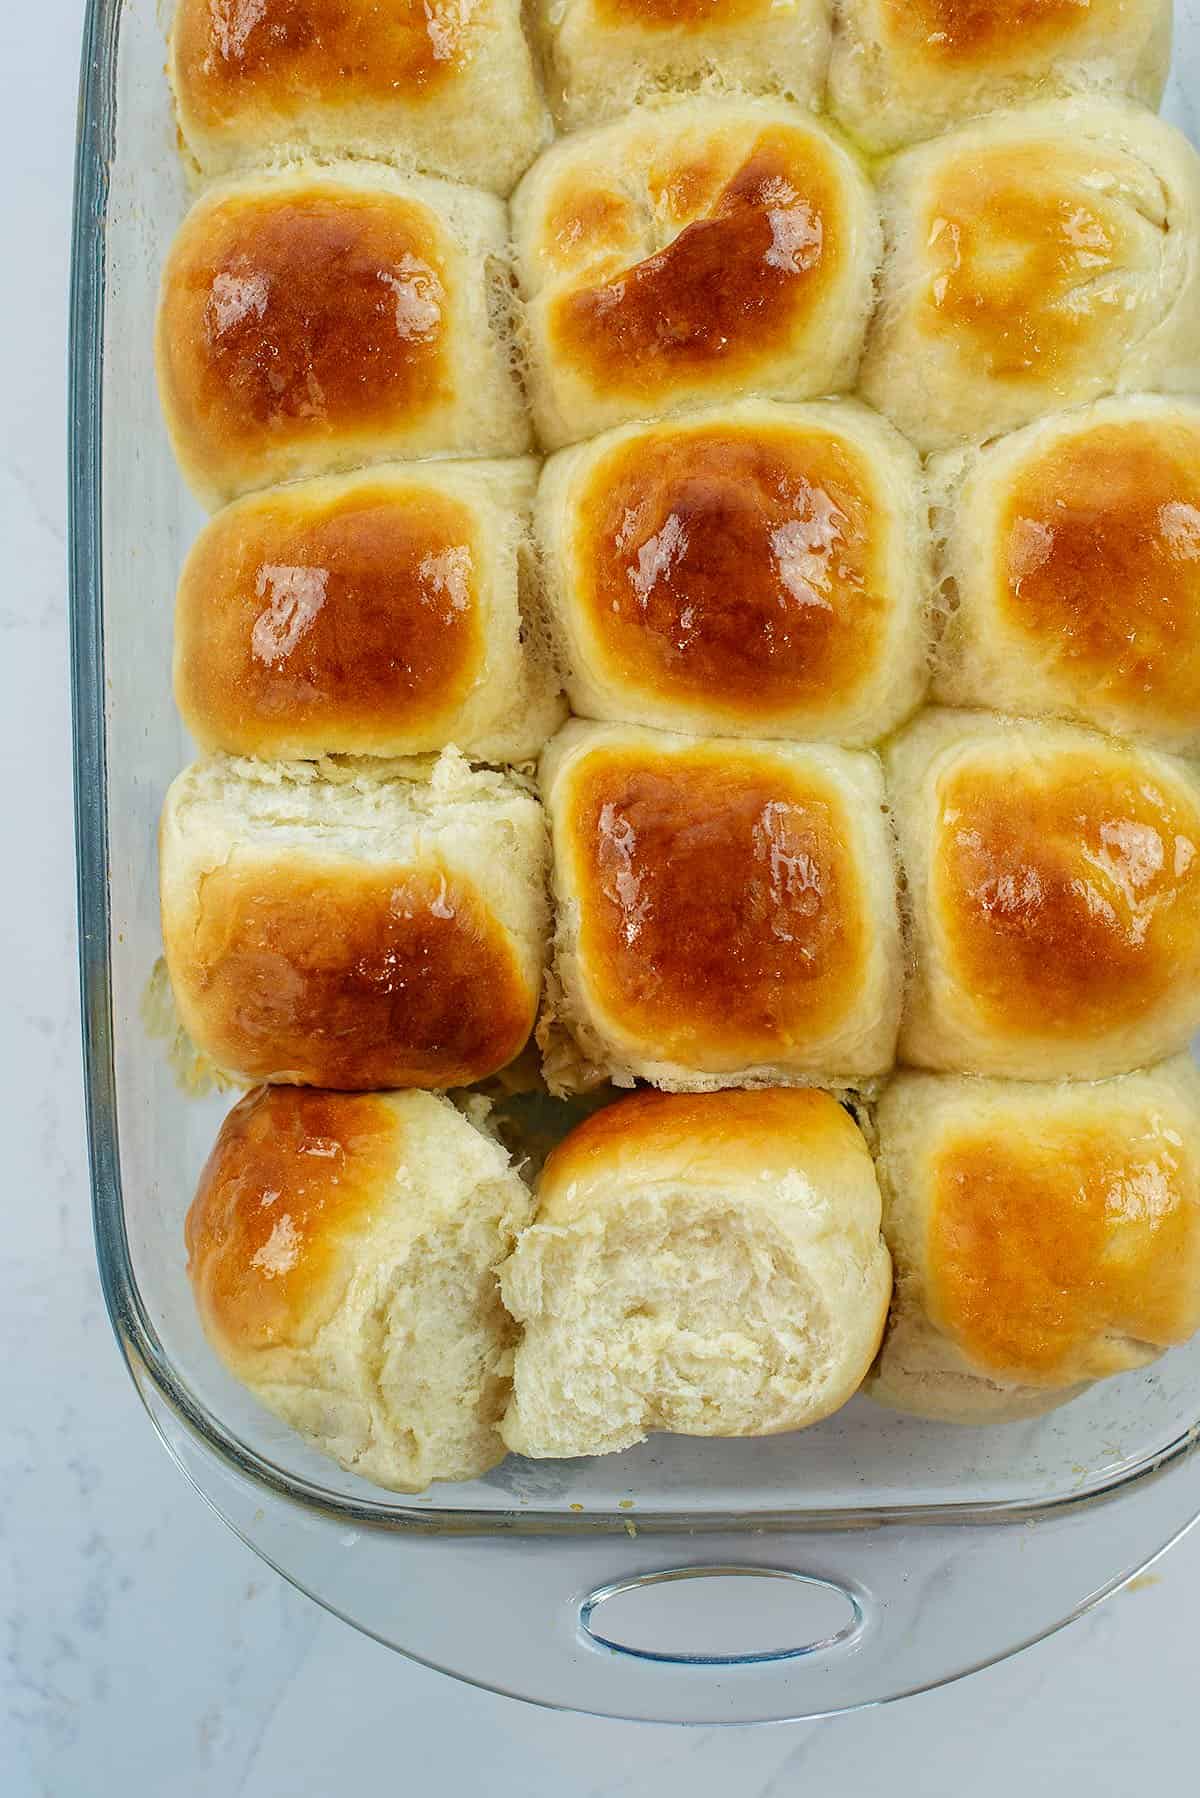
Browning: These rolls don’t brown a whole lot on the tops unless you pop them under the broiler for a minute or two after baking. It’s completely unnecessary to do, but we think it makes them prettier. We often brush ours with a little dairy milk before broiling for that extra glossy browned look, as seen in these photos.
Garlic Rolls: Before baking, brush the rolls with butter as directed and then sprinkle lightly with garlic salt to add a delicious salty garlic crunch to the tops of the rolls.

