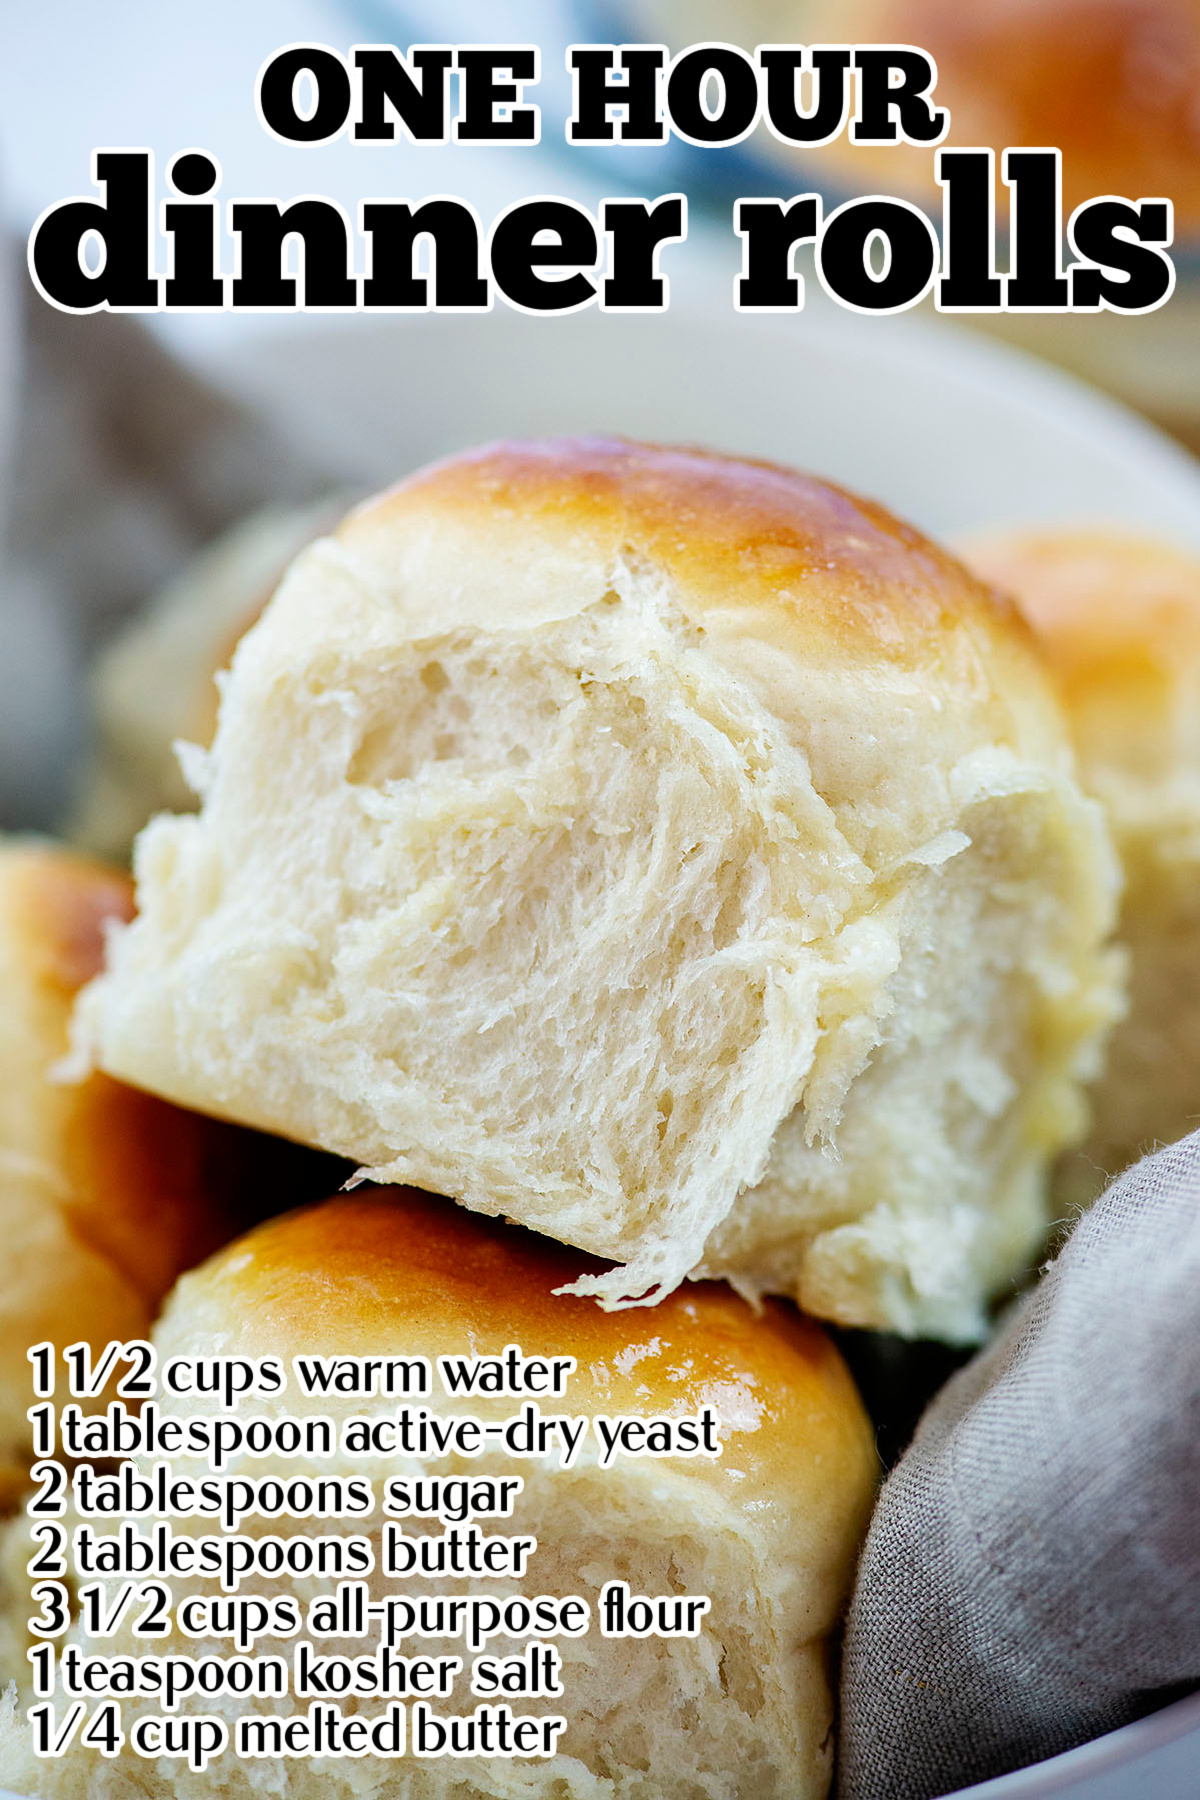
Ingredient Notes:

Flour – We use all purpose white flour here. You can experiment with using white whole wheat flour or half whole wheat and half white, but your rolls won’t be as light and fluffy.
Yeast – We’ve used both active dry yeast and instant yeast and, in this recipe, both work fine. You’ll need a full tablespoon of yeast, so if you’re using the packets, that just a little more than 1 packet. I buy yeast in jars and keep it in my fridge.
Water or Milk – You need warm water or 2% milk between 105 – 115 degrees Fahrenheit. We pop our meat thermometer in the water (it works, haha) to test, but you can also just dribble it on your wrist – if it’s a warm, comfortable temperature, it’s likely good.
Sugar – Not only will a touch of sugar give a bit of flavor to the dough, it will also give the yeast something to feed on and help the bread to rise.
Butter – We’ll use a bit of butter in the dough to add some richness, but we’ll also be brushing plenty of melted butter over the top of the dough. And, of course, you’ll want some softened butter to serve with your rolls as well.
What We Love About This Recipe!
These dinner rolls are ready in no time at all and you don’t need to have any experience with baking bread to pull them off! It’s just a few simple ingredients and steps to make perfectly hot and fresh dinner rolls!
Water Vs. Milk:
This recipe works great with either water OR milk – or a combination of both!
Water is what we usually use, just because it’s easy to get warm straight from the tap. Warm milk will provide a richer flavor in your dinner rolls though.
Both work well – use what you like. 🙂
You will need:
Stand Mixer – This is going to make the job of kneading all that dough and just about any other baking recipe a whole lot easier! While you CAN make bread by hand, this makes life so easy.
How to Make Dinner Rolls:
Yeast: First up you’ll need to activate the dry yeast with some warm water. Add the yeast and warm water (around 110 degrees F) to the bowl of the stand mixer and sprinkle the sugar over the top. Let it sit for 5 minutes or until the yeast is foamy.
NOTES:
If the liquid is too hot, the yeast will die. If the liquid is too cold, the yeast won’t activate. We use a thermometer to test our water temperature for the best results. It should be about 105-115 degrees Fahrenheit!
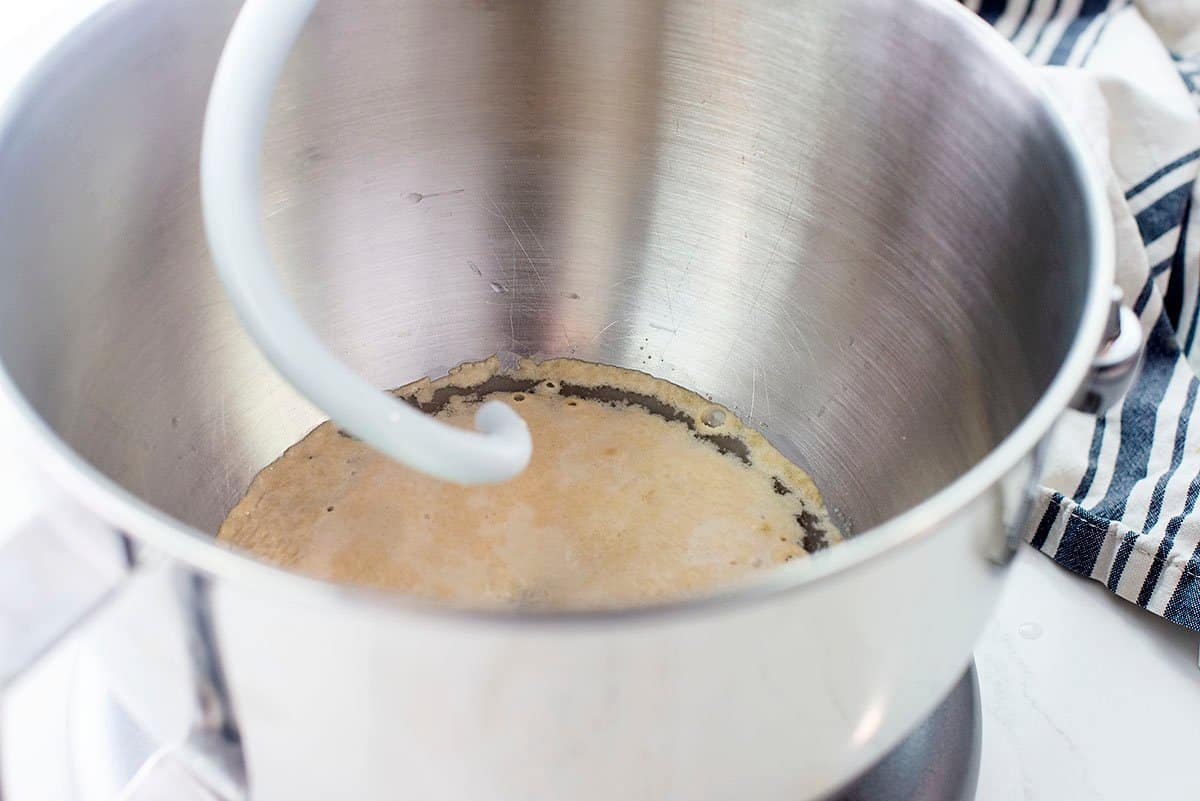
Dough: When the yeast is foamy you can add the remaining bread dough ingredients including the flour, softened butter, and salt to the stand mixer bowl.
Start kneading the dough on low speed using the dough hook attachment on your stand mixer. You can then increase to medium and continue kneading.
Adjust: At this point your dough should be forming a ball that’s clearing the edges of the stand mixer – but that never happens for me on the first try. 😉 The dough will look as if it’s forming a ball and then *flop* it all slips off the hook and pools at the bottom of the mixer. This is fine – just add more flour, 1/4 cup at a time, and keep kneading/mixing until you get that dough ball. We usually end up right around 4 cups of flour, but it depends on the humidity. <— This part scares people away from baking with yeast, but IT’S NO BIG DEAL. Just add more flour – you won’t hurt anything.
Knead: Once your dough is a more uniform ball and not puddling in the bottom of your mixer, keep on kneading on medium speed for 5-10 minutes. You’ll want a nice, elastic dough that doesn’t leave a lot of dough behind on your fingers when pinched – a little is fine, but the dough should be workable.
NOTES:
You will almost certainly need to add additional flour. We usually end up closer to 4 cups, depending on the humidity.
Start by adding the 3 ½ cups of flour as called for and mixing. If the dough is holding it’s shape and clearing the sides of the bowl without leaving a lot of residue on your fingers when pinched, it’s ready to go.
If the dough does not form a ball or clear the edges of the bowl while mixing, add additional flour ¼ cup at a time until it does.
Often times when you start mixing the dough it will hold it shape, but after a minute it will sort of flop down off the dough hook – add more flour each time that happens until it forms a nice ball of dough.
The goal is to add JUST ENOUGH flour to get a nice, smooth, workable dough. Once it’s holding it’s stopped puddling around the bottom of the mixer, you likely have enough flour. Knead for 5-10 minutes for a smooth dough.
It should be ready when the dough is soft and pliable and leaves only a small amount of residue on your fingers when pinched.
Rise: Remove the bread dough from the mixer and shape it into a ball. Place it into a large greased bowl and cover it with a tea towel. Set it aside and let the dough rise for about 15 minutes.
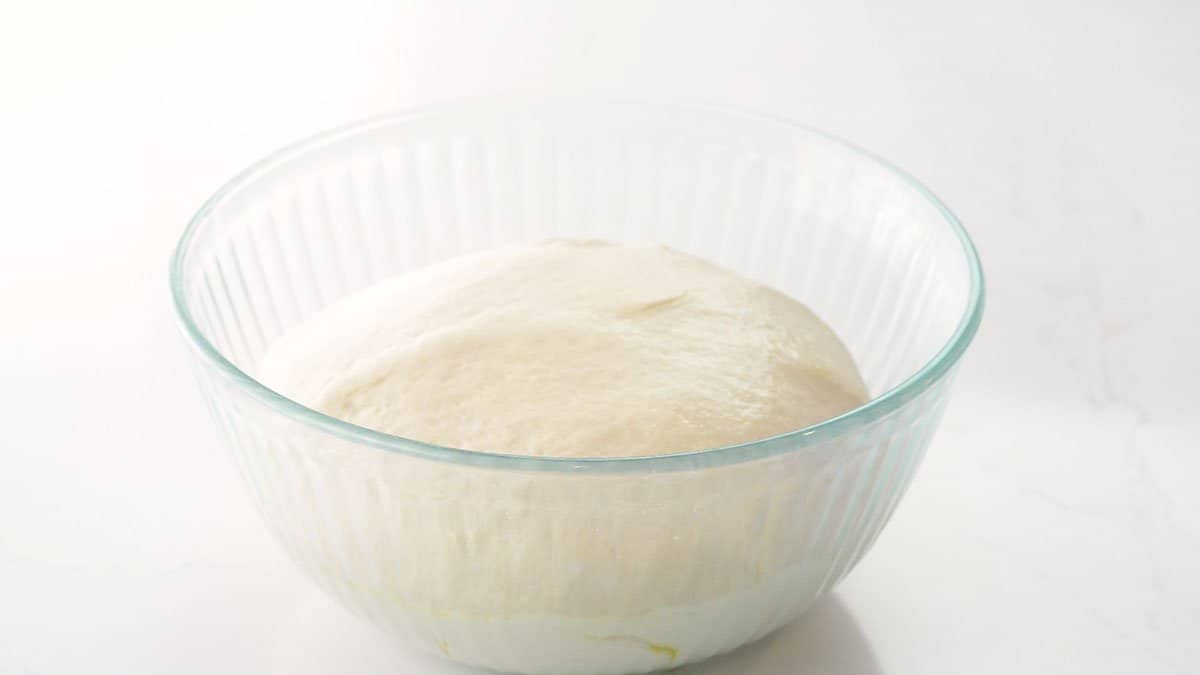
Notes:
Dough rises very nicely in the oven! Just turn the oven light on and pop your dough in. The warmth of the light makes the perfect cozy spot for dough to rise.
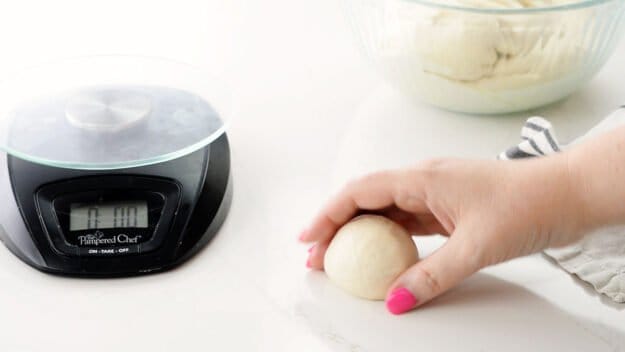
Weight: After the dough has risen punch it down (my daughter’s favorite part to help with!) and then divide it into 15 equal sized pieces about 2 ounces in size. You can use a kitchen scale if you want them perfectly portioned!
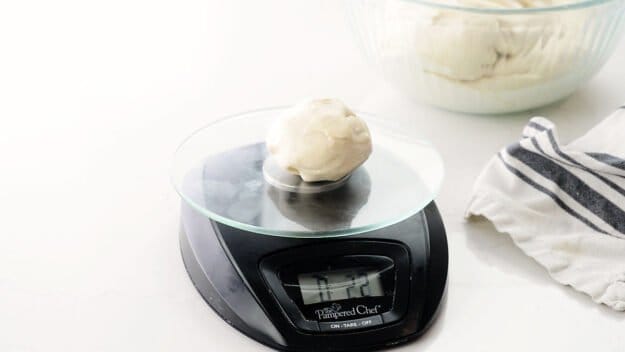
Shape: Take your dough ball and place it directly onto your clean, dry countertop. Form a ‘C’ with your hand and place it around the dough ball with your pinky on the counter top. Move your hand in a circle, keeping your pinky and side of your hand on the counter, moving the dough ball in the ‘C’ shape. This will form a nice, tight ball of dough. See the video above for an example. It’s easy!
Second Rise: Place each ball of dough into a greased baking dish and cover it with a tea towel. Let the dough rise on your counter for 15 minutes while your oven preheats.
Bake: After rising again you can brush the balls of dough with the melted butter. Finally, bake for 15 minutes or until the tops are golden and the rolls are cooked through!
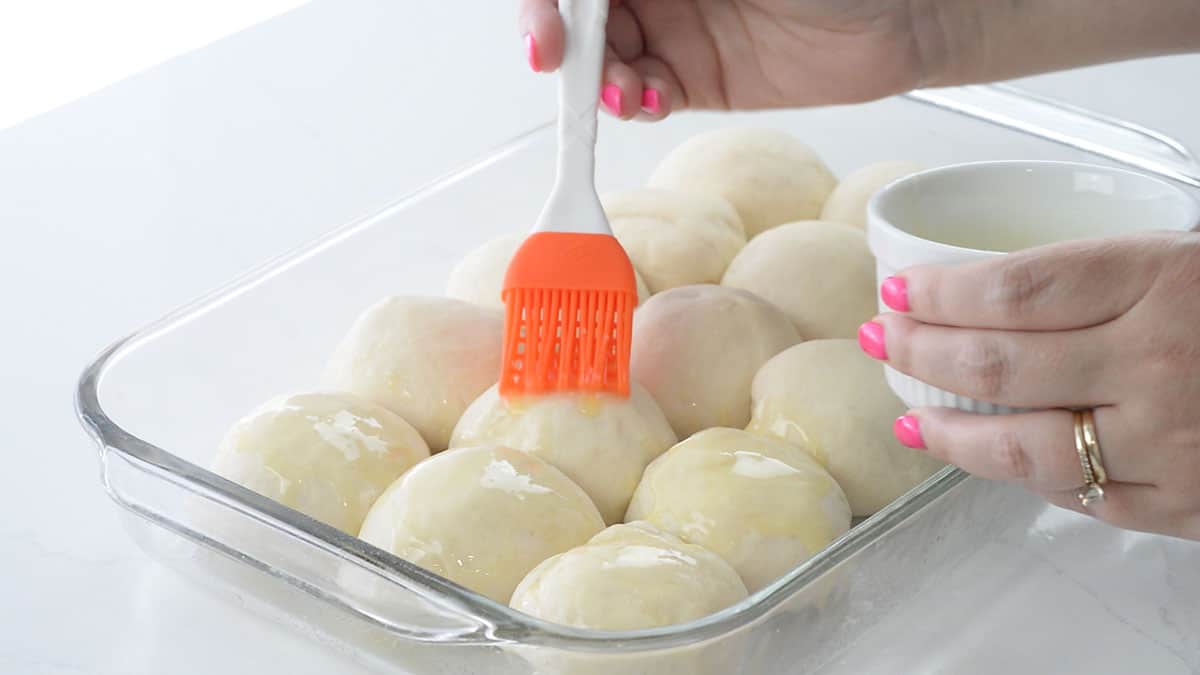
We like to give the dinner rolls another brush of melted butter after baking and let them cool for about five minutes before serving while they are still nice and warm!

