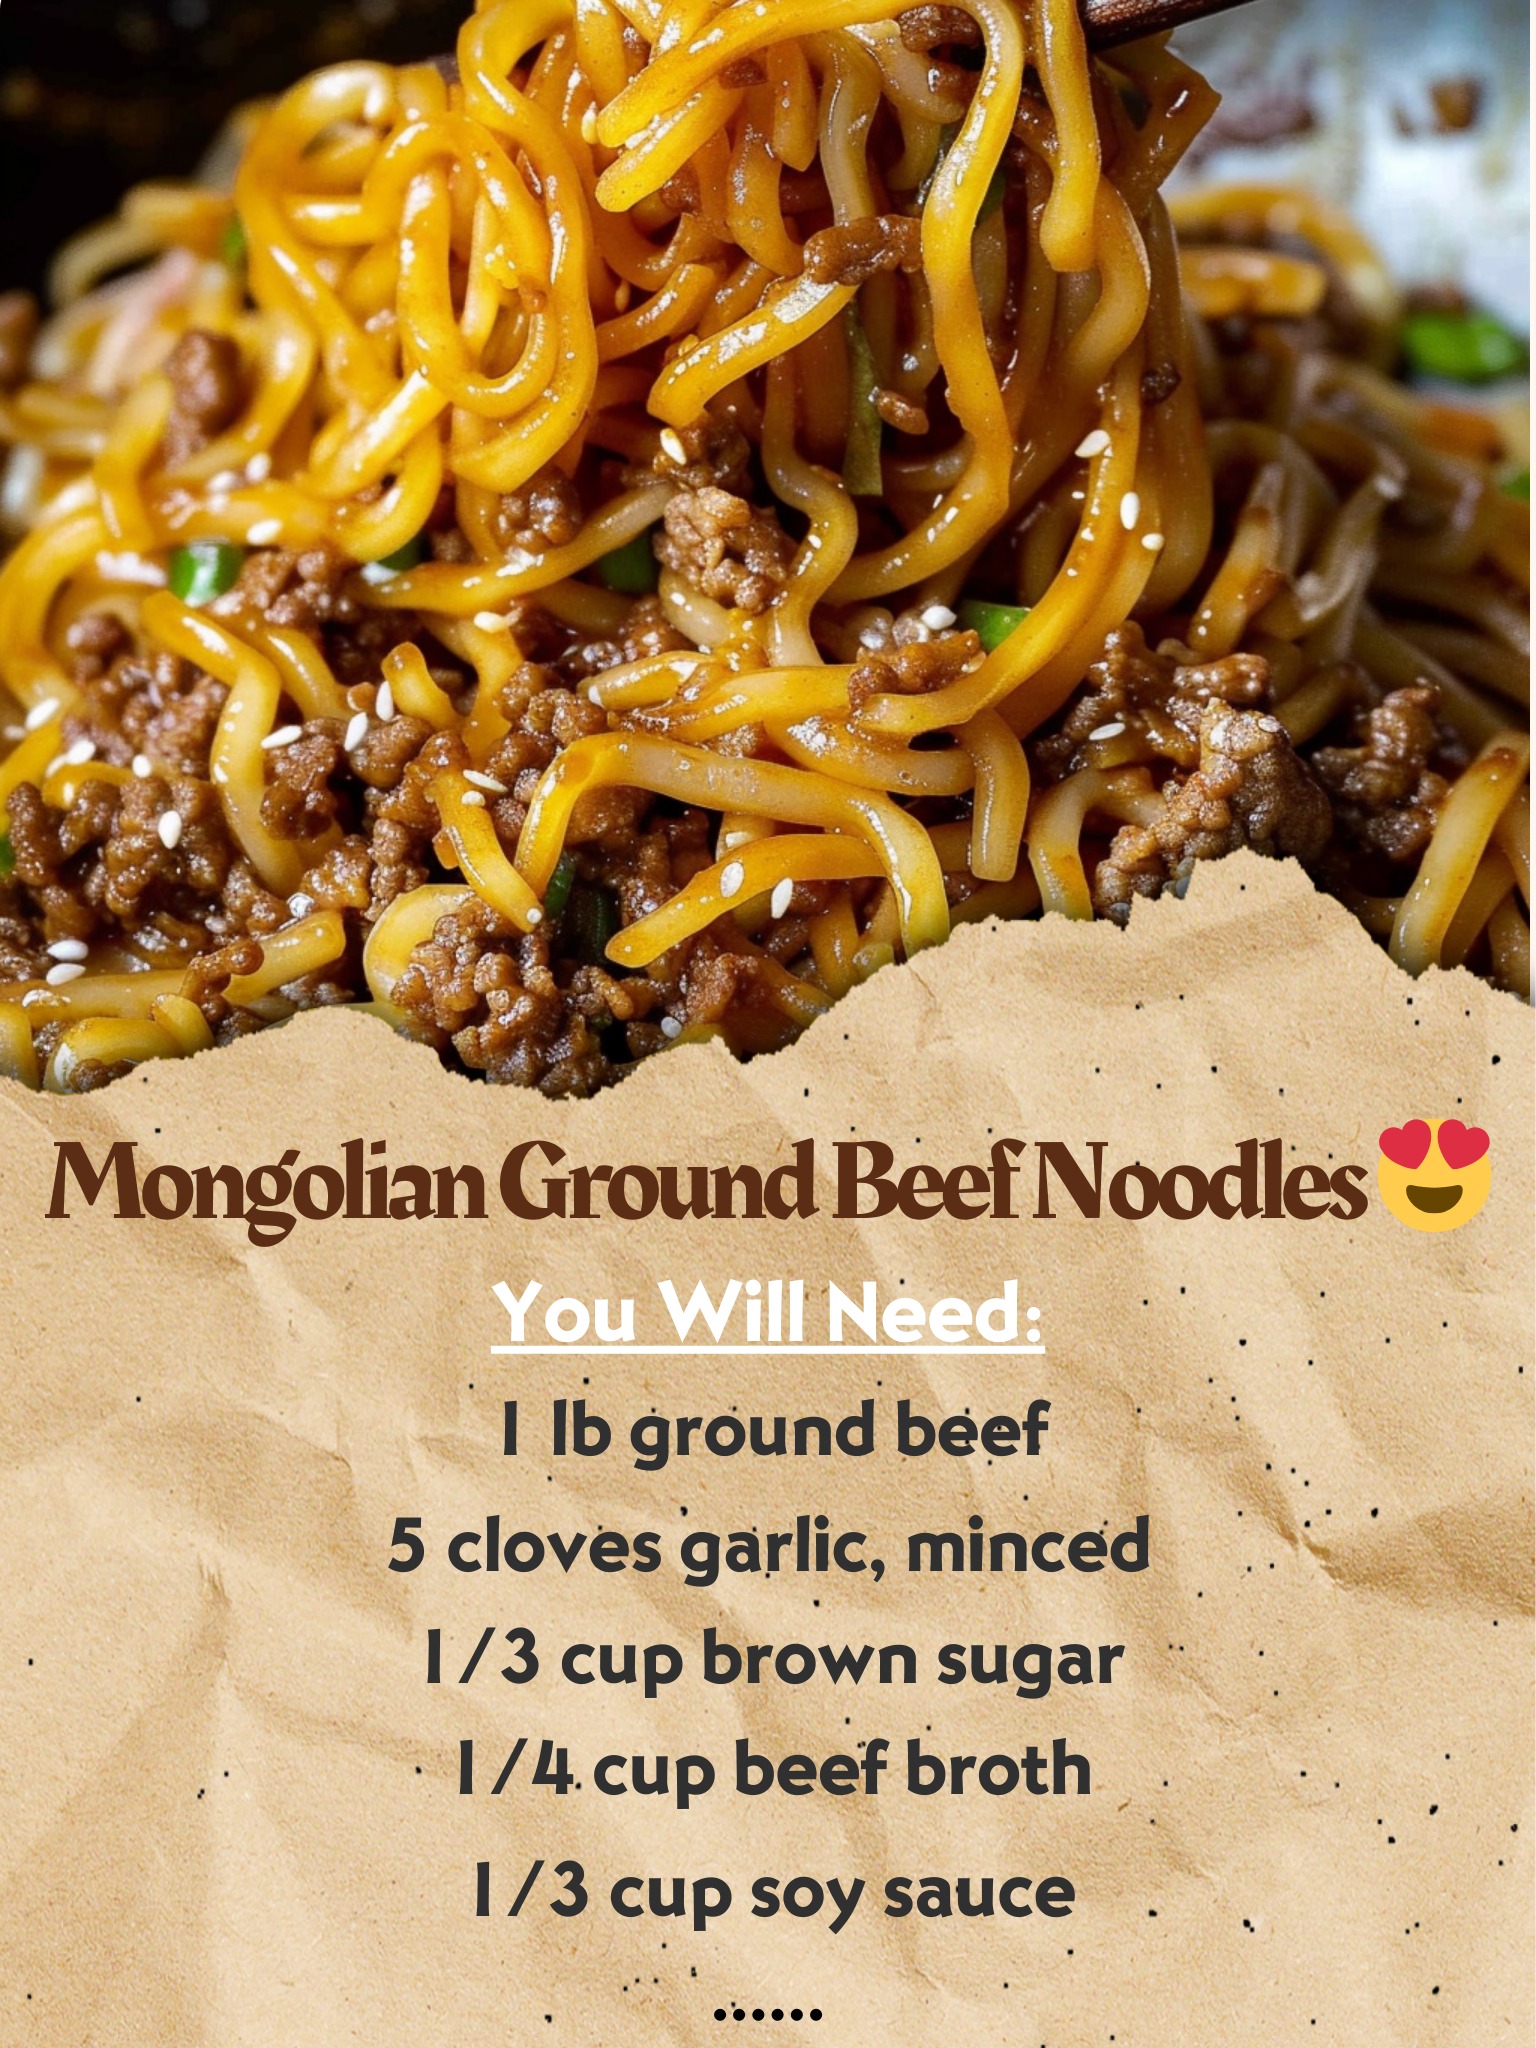
Cook the Pasta: Begin by cooking the linguine according to the package instructions in a large pot of boiling water. Once cooked, drain the pasta and set it aside. This will be the base of your dish, ready to soak up the flavorful sauce.
Brown the Ground Beef: In a large skillet over medium-high heat, brown the ground beef until it’s no longer pink. This step is crucial for developing the deep, savory flavor that’s characteristic of Mongolian beef. Drain any excess fat as needed.
Add Aromatics and Sauces: Once the beef is browned, add the minced garlic and cook until fragrant, about 1 minute. Then, pour in the soy sauce, beef broth, brown sugar, hoisin sauce, ground ginger, black pepper, and red pepper flake (if using). These ingredients combine to create a rich, complex sauce that’s sweet, savory, and slightly spicy.
Thicken the Sauce: Dissolve the cornstarch in 2 tablespoons of cold water and add it to the skillet. Stir well and bring the mixture to a gentle boil. The sauce will begin to thicken, enveloping the ground beef in a glossy, flavorful coating.
Combine with Noodles: Add the cooked noodles to the skillet, tossing them in the sauce to ensure they’re fully coated. Allow the noodles to sit in the sauce for 2-3 minutes, absorbing all the delicious flavors.
Garnish and Serve: Finally, sprinkle the sliced green onions over the top for a pop of color and freshness. Serve hot and enjoy the rich, savory taste of Mongolian Ground Beef Noodles.
Serving and Storage Tips for Mongolian Ground Beef Noodles
After mastering the art of making Mongolian Ground Beef Noodles, knowing how to serve and store them will ensure your culinary creation remains as delightful as when it was first prepared. Here are essential tips to maximize enjoyment and preserve the quality of your dish.
Serving Tips:
Serve Hot: Mongolian Ground Beef Noodles are best enjoyed hot, right after they’re made. The warmth enhances the flavors and ensures the noodles are at their most tender.
Garnish Wisely: A sprinkle of sliced green onions or a handful of freshly chopped cilantro can add a vibrant, fresh contrast to the rich flavors of the dish. For those who enjoy a bit of extra heat, a light sprinkle of additional red pepper flakes can do the trick.
Pair with Sides: Although this dish stands well on its own, you can pair it with a simple side of steamed vegetables, like broccoli or bok choy, to add a nutritional boost and color to your meal. A light cucumber salad also provides a refreshing contrast.
Adjust to Taste: Before serving, taste the dish and adjust the seasoning if necessary. Some may prefer a little more soy sauce for saltiness, a sprinkle of sugar for sweetness, or a dash of vinegar for acidity.
Storage Tips:
Cool Before Storing: Allow any leftovers to cool to room temperature before storing to prevent condensation inside the container, which could make the noodles soggy.
Airtight Containers: Store the noodles in airtight containers to keep them fresh and prevent them from absorbing odors from the refrigerator. Glass containers are ideal as they don’t retain odors or flavors and allow you to see the contents easily.
Refrigeration: Properly stored, Mongolian Ground Beef Noodles can last in the refrigerator for up to 3 to 4 days. Make sure your fridge is set at or below 40°F (4°C) to ensure safety.
Freezing: If you have a large batch, you can freeze portions for later enjoyment. Use freezer-safe bags or containers, and try to remove as much air as possible to prevent freezer burn. Frozen, the dish can last for up to 2 months. Thaw overnight in the refrigerator before reheating.
Reheating: Reheat leftovers in a skillet over medium heat, adding a splash of water or broth to prevent the noodles from drying out. You can also use the microwave, covering the noodles with a damp paper towel to keep them moist. Stir occasionally to ensure even heating.
By following these serving and storage tips, you can enjoy Mongolian Ground Beef Noodles at their best, whether freshly made or as a delicious leftover.
FAQs
Continue Reading in next page

