

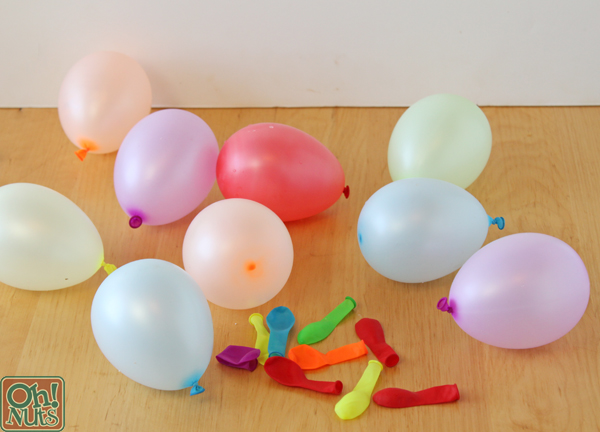
While you wait for the melted wafers to cool, blow up the balloons until they’re the size you want your candy cups to be, and tie them off. This recipe yields 8-10 candy cups (depending on how large you make them) but you should blow up a few extra balloons just in case you make a mistake or a balloon accidentally explodes. I find that blowing up the balloons until they’re about 3 inches in diameter yields candy cups that hold about 1/2 cup of candy, which seems to be a good amount.
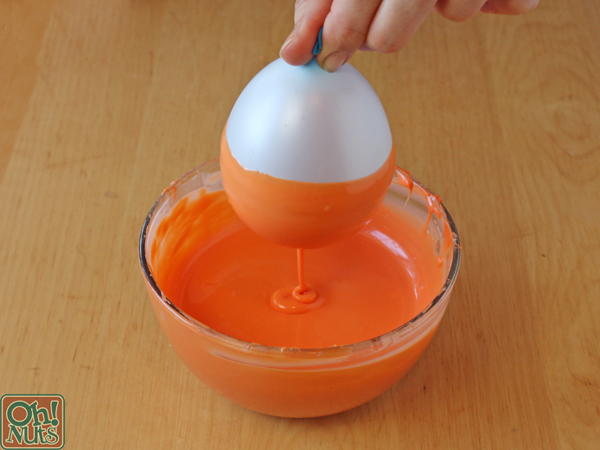
When the coating is still fluid but no longer very warm to the touch, hold a balloon by the knot and dip it in the melted coating until it comes halfway up the sides of the balloon. Rotate it around so that the sides are evenly coated. Remove the balloon from the coating and let the excess drip back into the bowl.
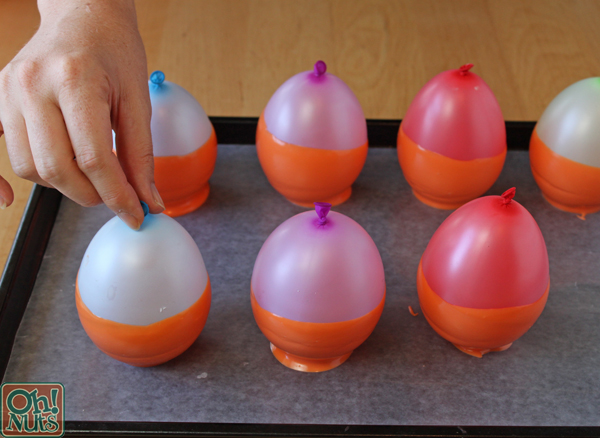
Place the dipped balloon on a baking sheet covered in parchment or waxed paper. Repeat with the remaining coating and balloons. Once all the balloons are dipped, refrigerate the tray to set the coating, for about 20 minutes.

To remove the balloons from the candy shell, hold the balloon tightly right below the knot. Cut a small hole above your fingers, and carefully loosen your grip so that a small amount of air can escape.
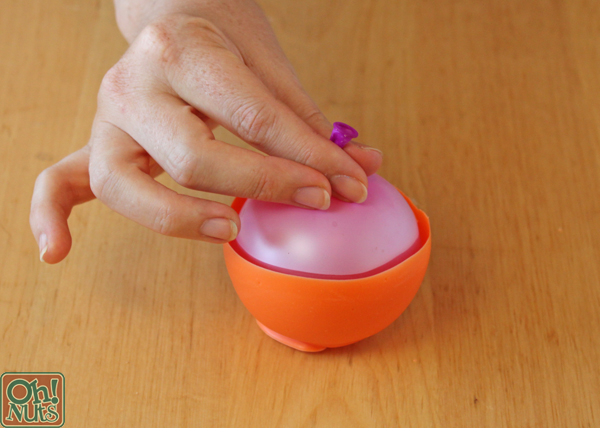
Gently let the air out of the balloon slowly and steadily. Use your other hand to help press the balloon inward and detach it from the side of the candy as it deflates. You’ll be most successful if you take this step very slowly.

When most of the air has left the balloon, very gently peel it away from the bottom of the candy. Repeat until all of the balloons are removed from the candy cups.
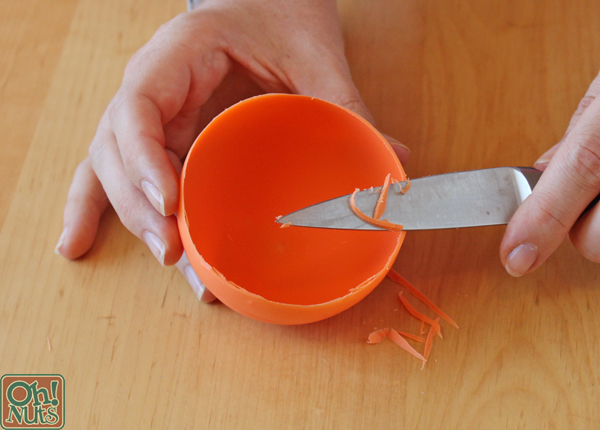
If you’d like, you can use a paring knife to level the tops of the cups and remove any uneven edges. You can also just run your finger along the top to smooth any ridges down. Do this step carefully and gently, since the cup edges are thin and delicate.
